Windows assigns icons to shortcuts used to start programs and processes. Shortcuts are found all throughout the Windows operating system including the desktop, start menu, and file listing. Basically, any time you see an icon associated with a file or program, there is a shortcut involved. Some of these icons can be changed from the default, so if you are one who likes to customize the look and feel of your system you may want to try changing the icon.
Yesterday, we discussed creating a desktop shortcut to put your computer into hibernate mode. If you followed the steps I gave in that article, you probably ended up with a shortcut on your desktop that looks something like the icon below. Pretty bland. Never fear, you can change the icon associated with this shortcut. Keep reading to find out how.
![]()
Changing the default icon
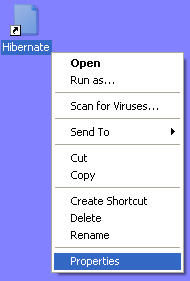
First, right click your mouse on the shortcut and select, properties.

Next, select the shortcut tab and click on the “Change Icon” button (see below).
![]()
In the next dialog box is a listing of icons associated with the file used in the shortcut (rundll32.exe). As you can see below, there is only one icon associated with the file, and it is a plain one. Let’s go change the icon. Click on the browse tab to look for a file with more icons.
![]()
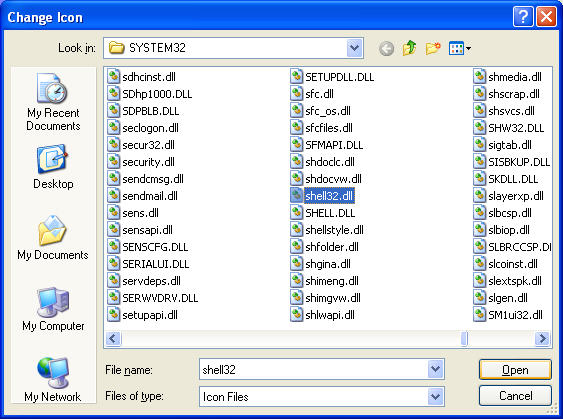
You should be looking in the Windows\System32 directory be default. If you aren’t using the pull-down menu and navigate to C:\Windows\System32 where C:\ is the drive that Windows is located on. Once you are looking in the System32 directory, scroll and find the file, “shell32.dll.” This file houses a majority of the icons that windows uses for its own files and shortcuts. Once you have found the file, click on it and select Open.

You’re now presented with a wide variety of icons to choose from. For the hibernate shortcut, I like the icon that shows a computer monitor with a moon (see below). Select the icon you want and click OK. Select OK on the next screen and you are done.
![]()
If all went well, you should see your newly changed icon on your desktop.
![]()

