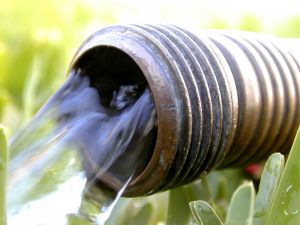
 Garden hoses are expensive! Learning how to repair your hose can save you lots of cash. Remember that one of the principals of frugal living is to reduce your waste, so why buy a new hose when you can still use the old one?
Do you have a hose that is generally good shape but is in need of a repair? You can easily repair most damage, from a pin hole leak to a tear in the hose.
There are two main ways to patch a garden hose. The first and easiest is by using a hose repair kit. These kits are relatively inexpensive and can be purchased at your local hardware or home improvement store. The kit will generally come with a couple of plastic couplings that you can attach to your hose and a joiner piece that makes everything fit together securely.
First you will need to remove the damage by cutting all of the way through the hose to make clean edges. Attach the couplings to the hose pieces, one on either side. The joiner piece goes in the middle and essentially spins or screws the two edges together for a tight, leak-proof repair.
You can also repair a garden hose the old fashioned, really frugal way, using items you already have around your home. You will need a piece of plastic tubing that is about the diameter of your garden hose. It will need to be able to fit inside the hose and should be about three inches or so in length. You will also need some duct tape.
To make this really frugal repair, insert the tubing into the hose at the spot of damage (you may have to strip or cut away at the hose). Then wrap the whole thing up with the duct tape. This repair isn’t as secure as the one using a kit, so be sure to check the duct tape on a regular basis, and replace it as needed. The nice thing about this type of repair is that it can be done quickly and basically for free.
Related Articles:
Frugal Home Improvement: Make Your Doorknobs Glow

