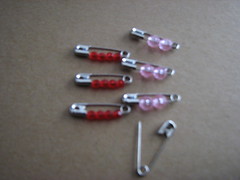
Safety pin jewelry is a quick and easy to make. While it is not the most beautiful jewelry in the world, it is a great rainy afternoon project. There’s something very satisfying about how quickly you can make things. You do need to be cautious with the sharp point of the safety pin. And of course small children and sharp object and beads aren’t a good idea.
You can experiment with different sizes of safety pins and beads. For this example I used a standard sized pin. As you can see from the picture it will hold two 6mm beads or four 4 mm sized beads. You can buy beads in your favorite colors or color themed for certain holidays, or you can just use leftovers from other projects. When you place the beads on the pin, leave a little space at the top so the pin can close. Also the beads shouldn’t be so thick that they get in the way of the pin closing.
Open up the safety pin and thread a few beads onto the pin part. How many beads you use will depend on the size of the beads and on the size of the pin. You can simply close the pin, or you can crimp it closed with pliers.
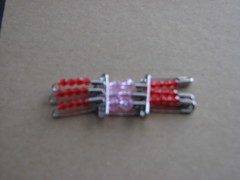
Once you’ve got six pins done you can start building your jewelry. Lay out three pin with the head of the pins facing inward. Lay three other pins with the tails facing toward the other pins. See the picture below.
Keep following the pattern until you have the length you want. It takes about eight groups of three to make a bracelet.
For more simple projects see:


